
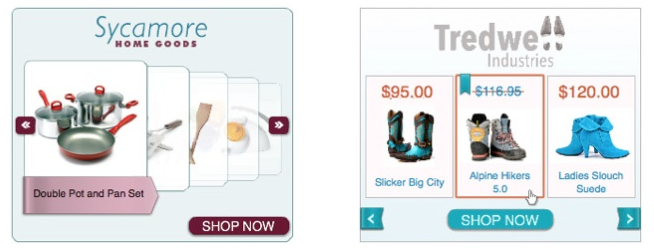
Above: Sample Dynamic Display Ads, automatically generated using Google’s software.
The Why.
Traditional remarketing works very well when a website offers a select few services or products, where advertisements can be generated manually for each service/product. This becomes a burden when a website has tens, hundreds, or thousands of different product SKU’s (Stock Keeping Units). Generating individual ads will typically not be cost effective, this is where Dynamic Display Ads come in.
For example, consider the following flow diagram:

In this example, users would potentially be lost and unless the said user remembers the website they visited, they are unlikely to come back to finish their purchase. Following the user leaving the website Google will remember the products that the user has visited and re-market the products to them, showing them advertisements as they browse other websites – Dynamic Display Ads solve this problem.
How do I get these ads?
To take advantage of Dynamic Display Ads the website first needs a Google Merchant Center account and feed, which is tied to the Google Ads account you wish to show these advertisements on.
Note: The implementation of a Google Merchant feed is outside of the scope of this document however Google’s documentation on this can be found on their website https://support.google.com/merchants/answer/188494?hl=en-GB
Once the feed has been submitted to Google and available within the Google Ads interface (this can be checked within your Google Ads account in ‘Tools > Linked Accounts > Google Merchant Center’ – you should see that your Merchant Center is linked to your Google Ads there) the next step is to create your campaign and implement the remarketing tags required.
……….
Create your first dynamic campaign
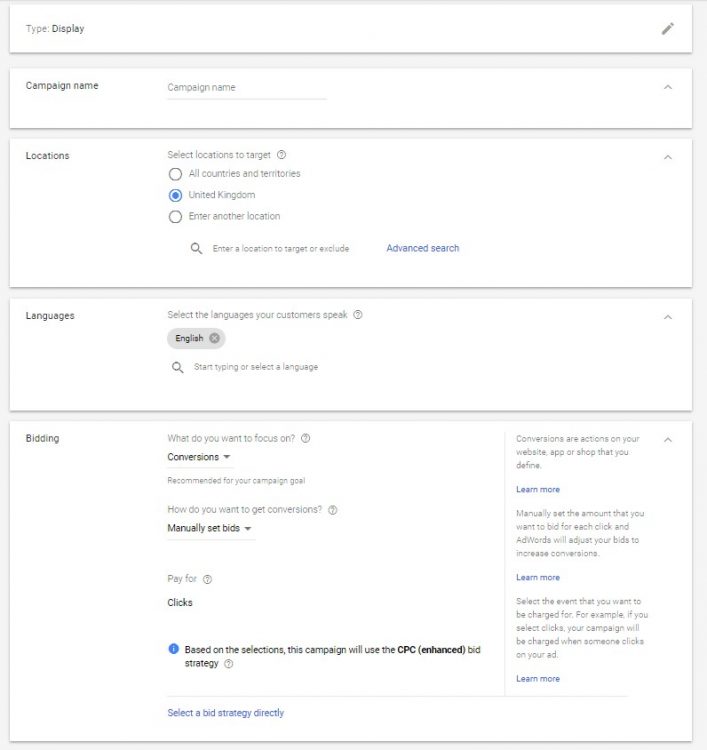
In Google Ads, create a new campaign, select your preferred goal option, select the ‘Display’ campaign type and ‘Standard display campaign’ subtype. Choose a name to identify the campaign (this can be changed later) and your preferred campaign options.

Get your Remarketing Tags
When you click “Set up dynamic remarketing” you will be sent to the Audiences section of the Google AdWords interface which will show you a page similar to the following, you should send the tags to your web developer for inclusion within the website. We will review the implementation of these tags later in this document.
Click continue on step 2 and return to your campaign on step 3. Google will have generated additional remarketing lists for your website tailored to different actions by users based on the remarketing tag you will implement on the website.

Finish campaign creation
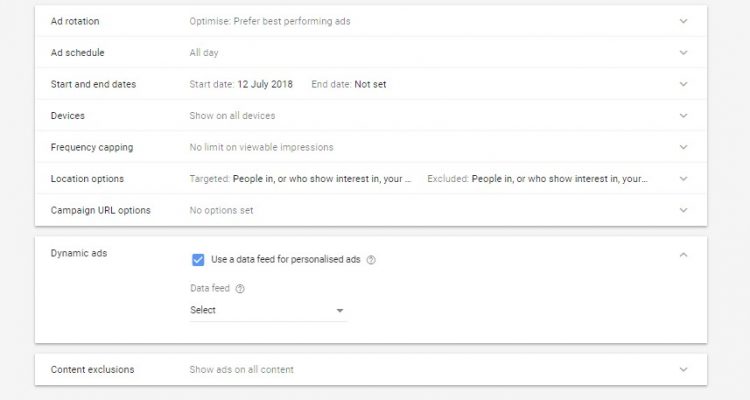
At the bottom of the campaign options section there is an “Additional settings” drop down menu. Open this menu, select “Dynamic Ads” and select “Use a data feed for personalised ads”. You should see another drop-down menu that allows you to select the Merchant Center account you have tied to this Google Ads account. You will then get the option to use all products in your feed or to use a selection. Initially it is recommended to use all products and let Google assess which are the most appropriate products to show to each user. Once you have some data you could modify the settings to more granular target different product types/segments.
Note: Google recommends you do not select a Location or Language, however if you, for example, only deliver products to the United Kingdom then you will not want to display remarketing advertisements to users outside of this locale – in this case it is suggested you go against Google’s recommendation.

Create your first Dynamic Display Ad Group
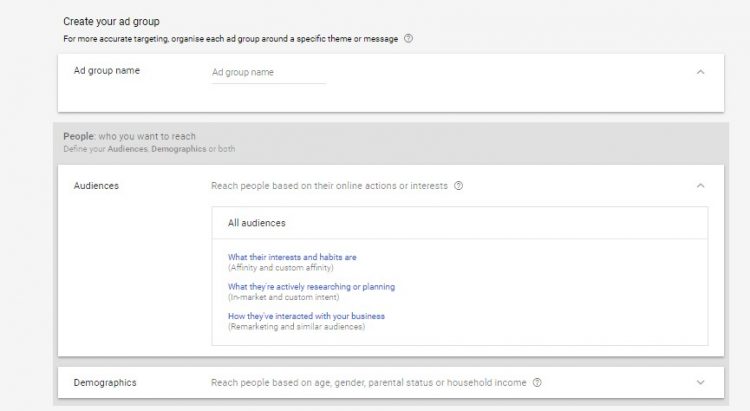
Underneath the campaign settings is a section that allows you to name and create your first ad group.
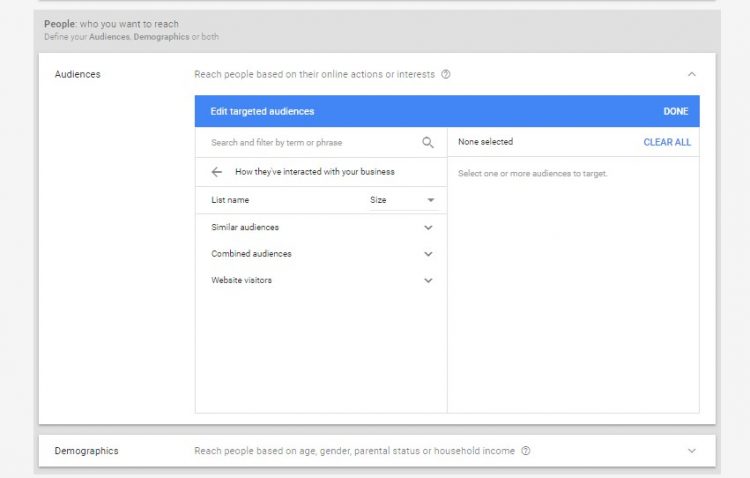
Under the “Audiences” section there is an “Edit targeted audiences” box. Select the “How they’ve interacted with your business” box and then “Website visitors”. Here you should see your remarketing audiences. It is important to consider your options here. Choosing a list that targets all visitors to your site is the broadest remarketing pool, and while it is a good idea to have a broad Ad Group, it will typically not perform as well as an Ad Group that is for example designed to only target users who have abandoned their shopping basket. It can be beneficial to set up separate Ad Groups for each remarketing audience that you want to target but you need to be careful and exclude other lists. Once you have selected the audiences that you want to target, click “Done” in the top right corner of the “Edit targeted audiences” box.
Choose the rest of your ad group settings and choose an appropriate bid. It is recommended that the default bid you choose starts off low, this allows you to increase the bid to optimise conversions in the future. If you start your default bid high, you are more likely to waste budget on non-performing advertisements.
Create your advertisements
The next step is creating your advertisements. The Google interface makes this really easy and offers a huge variance of advertisement layouts and covers all the ad sizes supported by the Display Network.
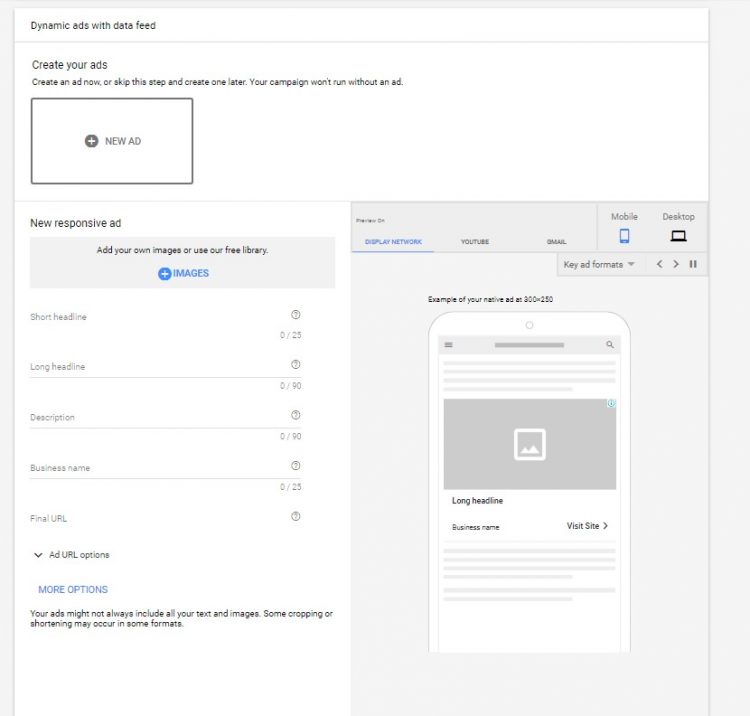
We recommend, at least for your first dynamic advertisement, using responsive ads rather than a specific layout as this will allow your advertisement to gain maximum visibility. You will have to provide a landscape image, short & long headlines, description, business name and final URL as on occasion the images provided in the data feed cannot fit into certain ad sizes and so a backup ad is needed.
If your data feed is linked correctly, you should see a box titled “Dynamic ads” with the sentence “A retail feed is attached to this campaign (ID: XXXXXXXXX)”.
A preview of the advertisements and different layout styles can be seen to the right of the options shown below.
Set up your Remarketing Tags
Now that you have your campaign, ad groups, and display ads online the final step is to implement the remarketing tag on your website that powers the whole process. This is the more technical stage of the process and will require in depth knowledge of the CMS and access to the underlying code of your website – likely a job for your web developers.
If you have previously set up remarketing for your website then the new tag won’t look much different, there are now additional custom parameters which Google requires to identify the different areas and products on your website.
Access the remarketing tag page by clicking on the Tools icon in the top right corner of the Google Ads page and then ‘Audience Manager’ in the ‘Shared Library’ section. Once on this page, click on ‘Audience sources’ in the left-hand column.
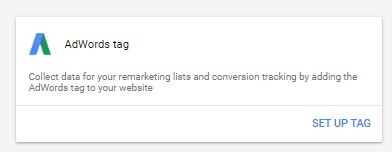
If you don’t have a remarketing tag setup then you will see an ‘Google Ads tag’ box – click on ‘Set up tag’. If you already have a remarketing tag set up then click on the 3-dot icon on the ‘Google Ads tag’ box and select ‘Edit source’.
The options from this point onwards will be the same regardless of if you have a remarketing tag already set up or not. You need to select ‘Collect specific attributes or parameters to personalize ads’, ‘User ID’ if you want to remarket to people across devices, your business type and then ‘ecomm_pagetype’, ‘ecomm_prodid’ and ‘ecomm_totalvalue’. These ‘retail parameters’ are crucial to maximizing the potential of dynamic remarketing, as they let Google show your audience the most appropriate products for each individual based on what they visited on your website. We cover the purpose of each retail parameter below.
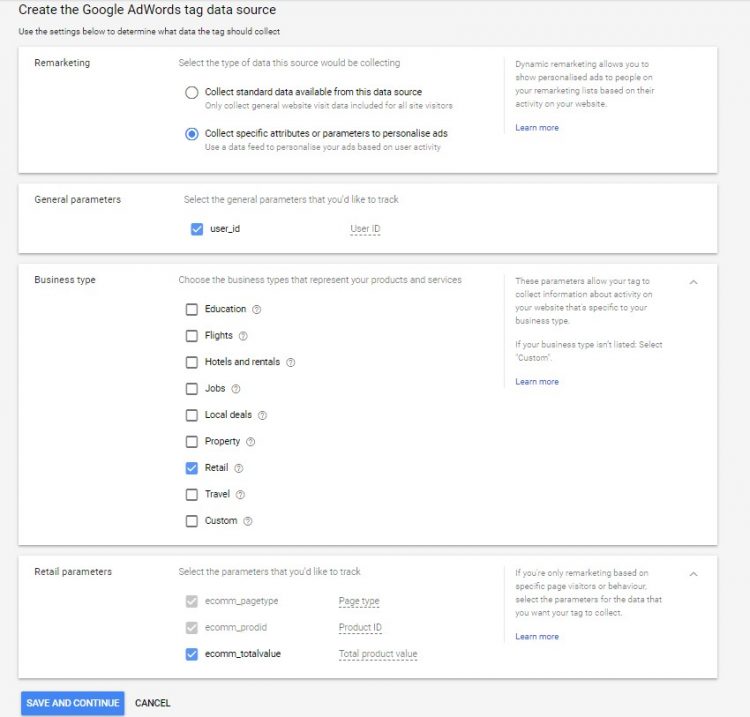
Once you have selected the appropriate options, click ‘save and continue’. You will then see a page containing instructions on how to install or reinstall your tag on your website. You can place the code yourself, download the code snippets or email the code and instructions to your developer.
ecomm_prodid
The ecomm_prodid represents the ID(s) of the product(s) you are referencing. This field should match the product ID from the Google Merchant Center feed that has been previously configured. Google uses this identifier to link products viewed by users, so they can be shown products via advertising.
This field should be provided on the following page types and left blank on others:
- product
- basket
- purchase
- searchresults
When a page has more than one product that is relevant, for example on the “searchresults”, “basket” or “purchase” pages of the website, it is likely a user will have more than one product shown, the notation for this is different to single product notation.
Note: It is essential that the values entered in the fields shown above match the ID from the Google Merchant Center Feed exactly and that all product IDs are shown where relevant – this allows Google to optimise the remarketing, for both upsells and for dropped baskets/product views.
ecomm_pagetype
The ecomm_pagetype is used by Google to understand the actions a user has taken on the website. For example, Google’s algorithms will differ for users that have purchased products from those that added products to their basket but failed to make a purchase.
There are several different page types available, all of which should be used in the remarketing tag, this tag should not be left blank.
Note: It is essential that all tags are added to their correct places and labelled appropriately. If for example a payment screen (prior to payment completion) is shown the “purchase” tag it would mean users are up-sold products before they have purchased the products they were looking at in the first place!
ecomm_totalvalue
The ecomm_totalvalue parameter is used to define the cost of the item(s) referenced within the ecomm_prodid parameter. This is used by Google to perform automated bid optimisation on your feeds and may also be used to categorise your lists into groups based on the value of the products (i.e., you can bid more to sell a £1000 product than a £10 one).
This tag is quite straight forward however it does have a caveat, it should be a plain decimal number (i.e. XXX.XX not £XXX.XX) and on pages where a sale is being performed (such as the basket and purchase page types) this parameter should include the full cost of the basket (i.e. if you have 10 products this number should show the total value of the basket/sale).
Validating your tags
Once the tags have been added to your website it is a good idea to test that they are functioning correctly, luckily Google has two resources that make this easy, through the use of the Google Tag Assistant (Google Chrome extension) or the Google AdWords Interface.
Google Tag Assistant
The Google Tag Assistant is an official plugin by Google that tests all of your Google tags (analytics, remarketing, conversions etc) and provides input into any problems they have encountered with your tags.
Get it here: http://3wh.co/186KG8e
Google Adwords Interface
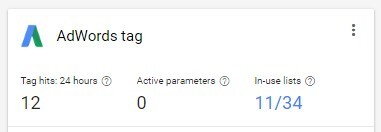
Within the ‘Audience sources’ section of the Shared Library in Google Ads there is a diagnostics tool that will help to identify problems within your remarketing tags and also provides specifics on the problems when they occur.
More information on this and common remarketing tag issues can be found at Google: https://3wh.co/2NZPAh6
You can listen to the full, inspiring conversation with Deema Tamimi on the FINITE Podcast.


